Tuesday, March 28, 2017

Classes Classes Classes!


One of the services that I provide is that I hold DIY classes that allow guests to learn and create a new craft.  I LOVE LOVE LOVE doing these events.  It can be a class of 4 people or 24 people and it is fun every time.  I love creating and crafting and greatly enjoy sharing that experience with friends and enjoy making new friends in the process!  

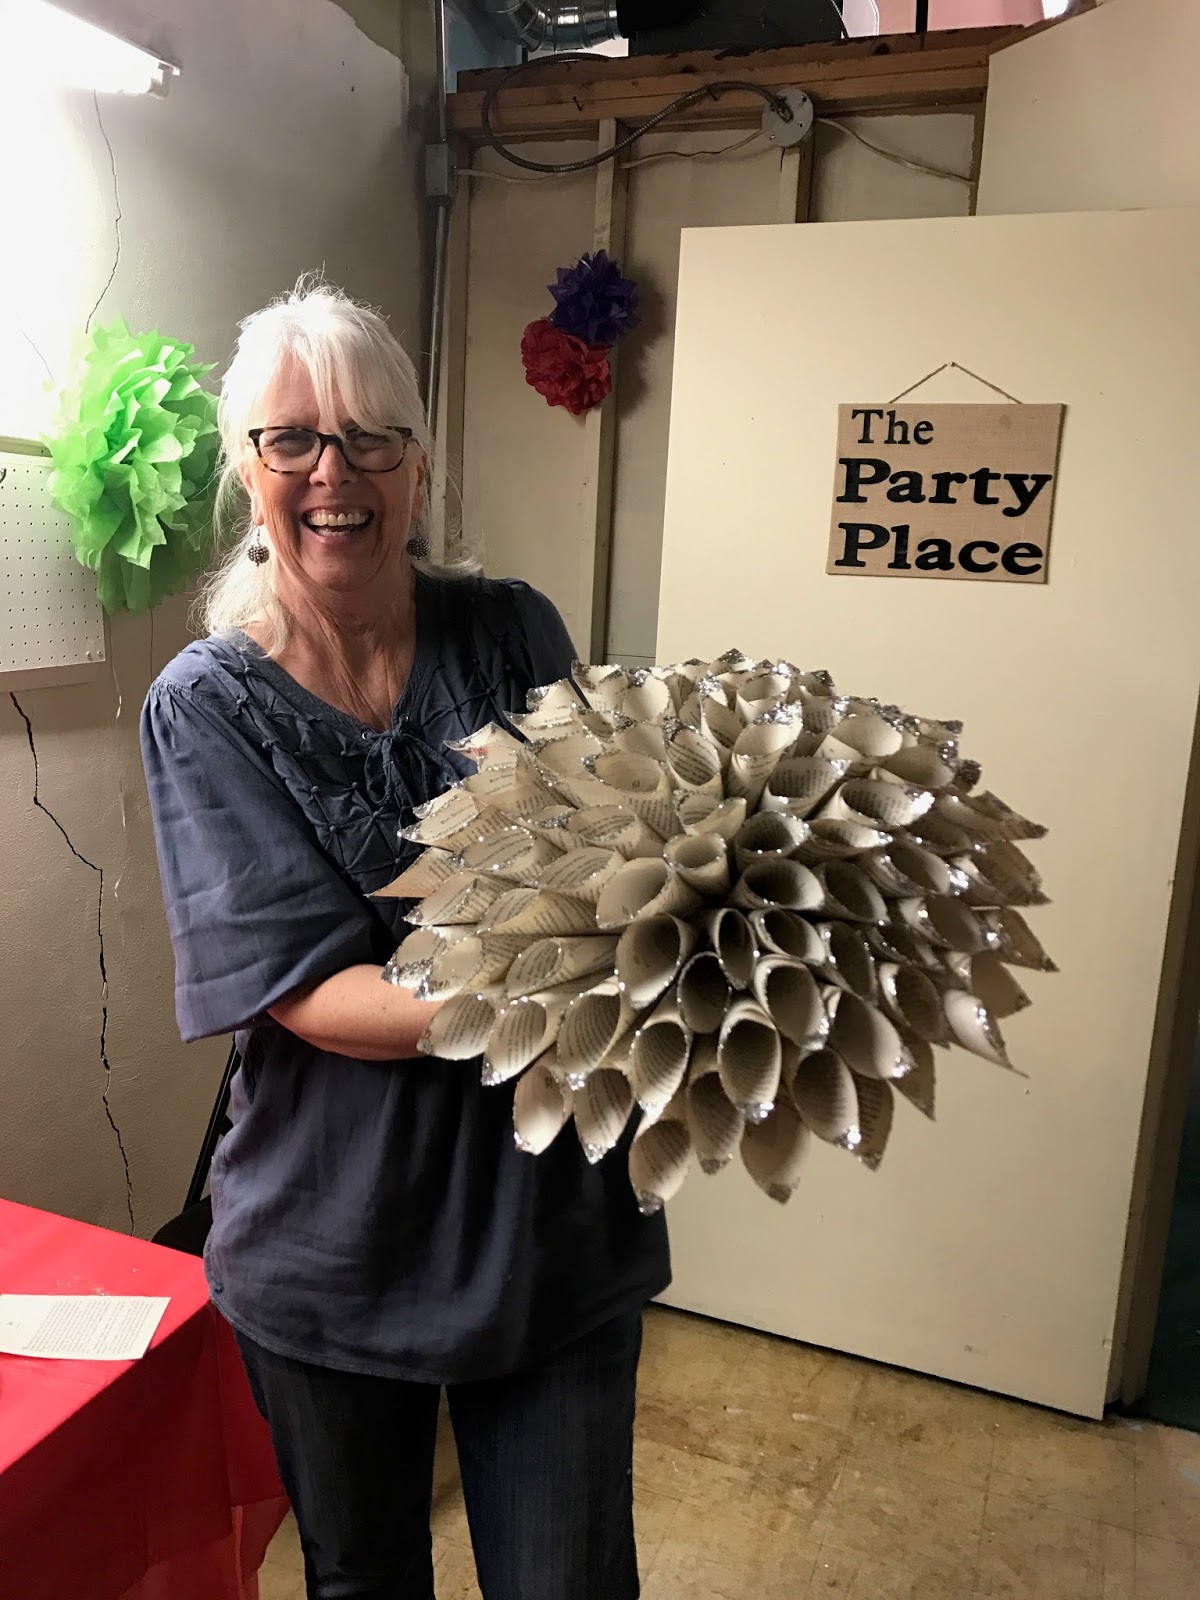
Our last class was one of the DIY Paper Dahlia classes and it was so fun!  Here are a few pictures of guests and their projects. 
 

Before that was our St. Patrick's Day Decor painting class.  I loved it so much that I made 1 of each design for myself! 


We can also do custom signs of the guest's choice.  My favorite little sister just did this cute Wyoming themed sign. 


I have several classes scheduled for April and May and will have more to come this summer as well!  

Garden Wands I made last weekend. 


If you are interested in attending any of these classes contact me!  To receive updates on future classes, sales, and more like my Facebook page.  

Thanks for stopping by and have a great day! 


Monday, March 13, 2017

Colorado Flag Wall Art


I am loving these Colorado Flag Wall Art that I made last weekend.  I made three different sizes and all are available inside my booth at Crafts & More.  They are gorgeous pieces of home decor and would make excellent Mother's day, graduation, Father's day, wedding, or house warming gifts! 

I started off by selecting and cutting my lumber to length. 

Then I applied a layer of Chalky & Company Blue Steel Gel Stain for the blue stripes. 

Then I painted on a layer of Chalky & Company Les Blues Glaze to brighten the blue just a bit.

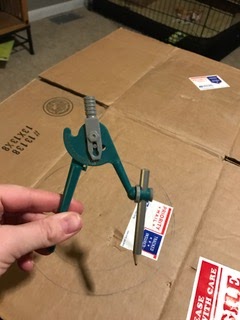
After this I grabbed my handy dandy protractor and drew two circles inside one another.  I painted the entire inner circle yellow and then the majority of the outer circle red to form the iconic "Colorado C".


I think they are adorable!  What do you think? Visit the store or contact me to purchase or special order your Colorado Flag wall art.  Available in a variety of sizes and finishes!  

Thanks for stopping by and have a great day!


Monday, March 6, 2017

Paper Dahlias


Hello friends! My latest (indoor) project was this large paper Dahlia.  We had a windy weekend so I spent my time inside the house creating this little beauty.  I love how it turned out!  I also love how easy it was!  I loved it so much that I am offering a class at the store in just 2 weeks to make them!  Learn more here. 

Step 1:  Cut out a cardboard backing for the flower from scrap cardboard.  I had a few boxes in the garage and just cut it from that. I used my protractor to draw my circle as well as some interior circles as guide lines.  


Step 2: This part was surprisingly hard for me but I made it through.  Tear out your book pages.


Step 3: Roll up the book pages and start gluing!  I placed 4 pages at each "corner" (yes I KNOW circles don't have corners but you know what I mean!) as guides to help keep the line going straight.  


Step 4:  Keep on gluing!  I then just filled in the center pf the flower.  Roll, glue and repeat until complete. 


I hung this guy up in our master bedroom and he looks great on our gray (or is it grey?) walls. 


Join me at the store on March 24th at 6:00pm to make your own! All materials and supplies provided.  Cost is just $20 per person and room is limited so RSVP to me by March 22nd. 

Thanks for stopping by and have a great day!


Monday, February 6, 2017

Valentine's Painting Party Follow Up


I wrote a post awhile back that I would be hosting a Valentine's sign painting class.  It was a success!  I held the party Saturday night and had 5 painters attend.  It was a small class but fun.  We chatted and painted and the ladies signs turned out so cute!  

Before the party I prepared by cutting all of the wood that I would need for my guests and 1 extra of each design that I could paint and display at the party.


Next I brought my Cricut into the kitchen and began cutting the stencils. 


Next I laid out all of my paints, brushes, signs and stencils and got busy painting an example of each style.  I wanted to be sure that my guests could see in-person what the finished product would look like and have different color combo options to look at. 


My next step was to get set up for the party.  I covered my tables with disposable coverings, hung the signs that I had painted on the wall along with all of the paint brushes and set the paints, signs and stencils out on the tables for my guests.  They all painted (and made much less of a mess than I did!) and were finished with their products within 2 hours of beginning.  Quick and easy! AND so cute!!!


This guest finished her sign off with some antiquing wax and I just love how it turned out!
My daughter liked it so much that she used her left-over paint and re-created the look at home later!


After the party was finished I cleaned up the party room and placed the signs that I had painted into my area to be sold.  I had fun at this party and can't wait until the next!  If you would like to join us for the next party just let me know! 


Thanks for stopping by and have a great day!